HOW TO APPLY:

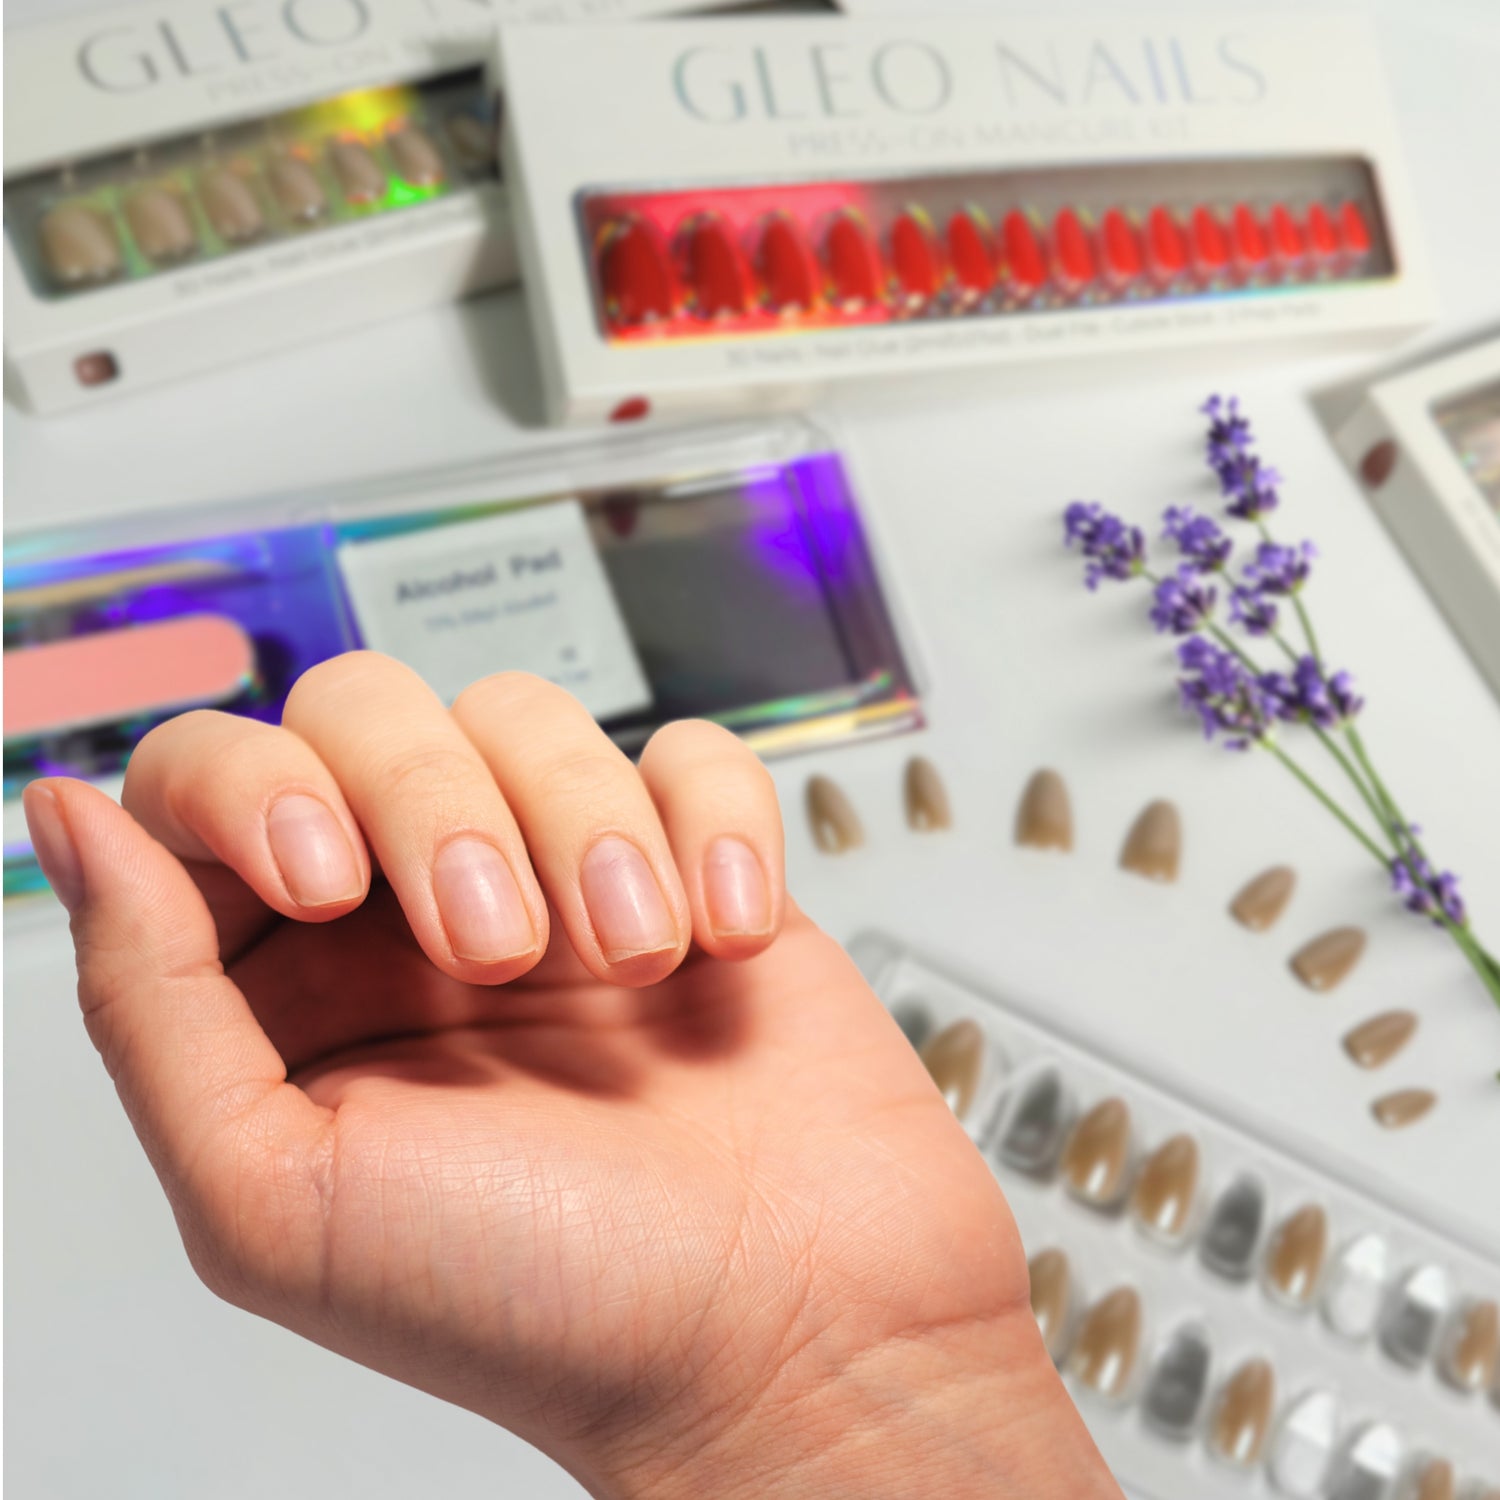
1. Start with natural, uncoated nails – clean and dry.
2. Optionally: push back the cuticles, trim your nails short for the cleaner final look.
3. Select the best fit for each finger. For your convenience GLEO NAILS are organized by size.
4. Sanitize your nails with the Prep Pad provided for each hand.

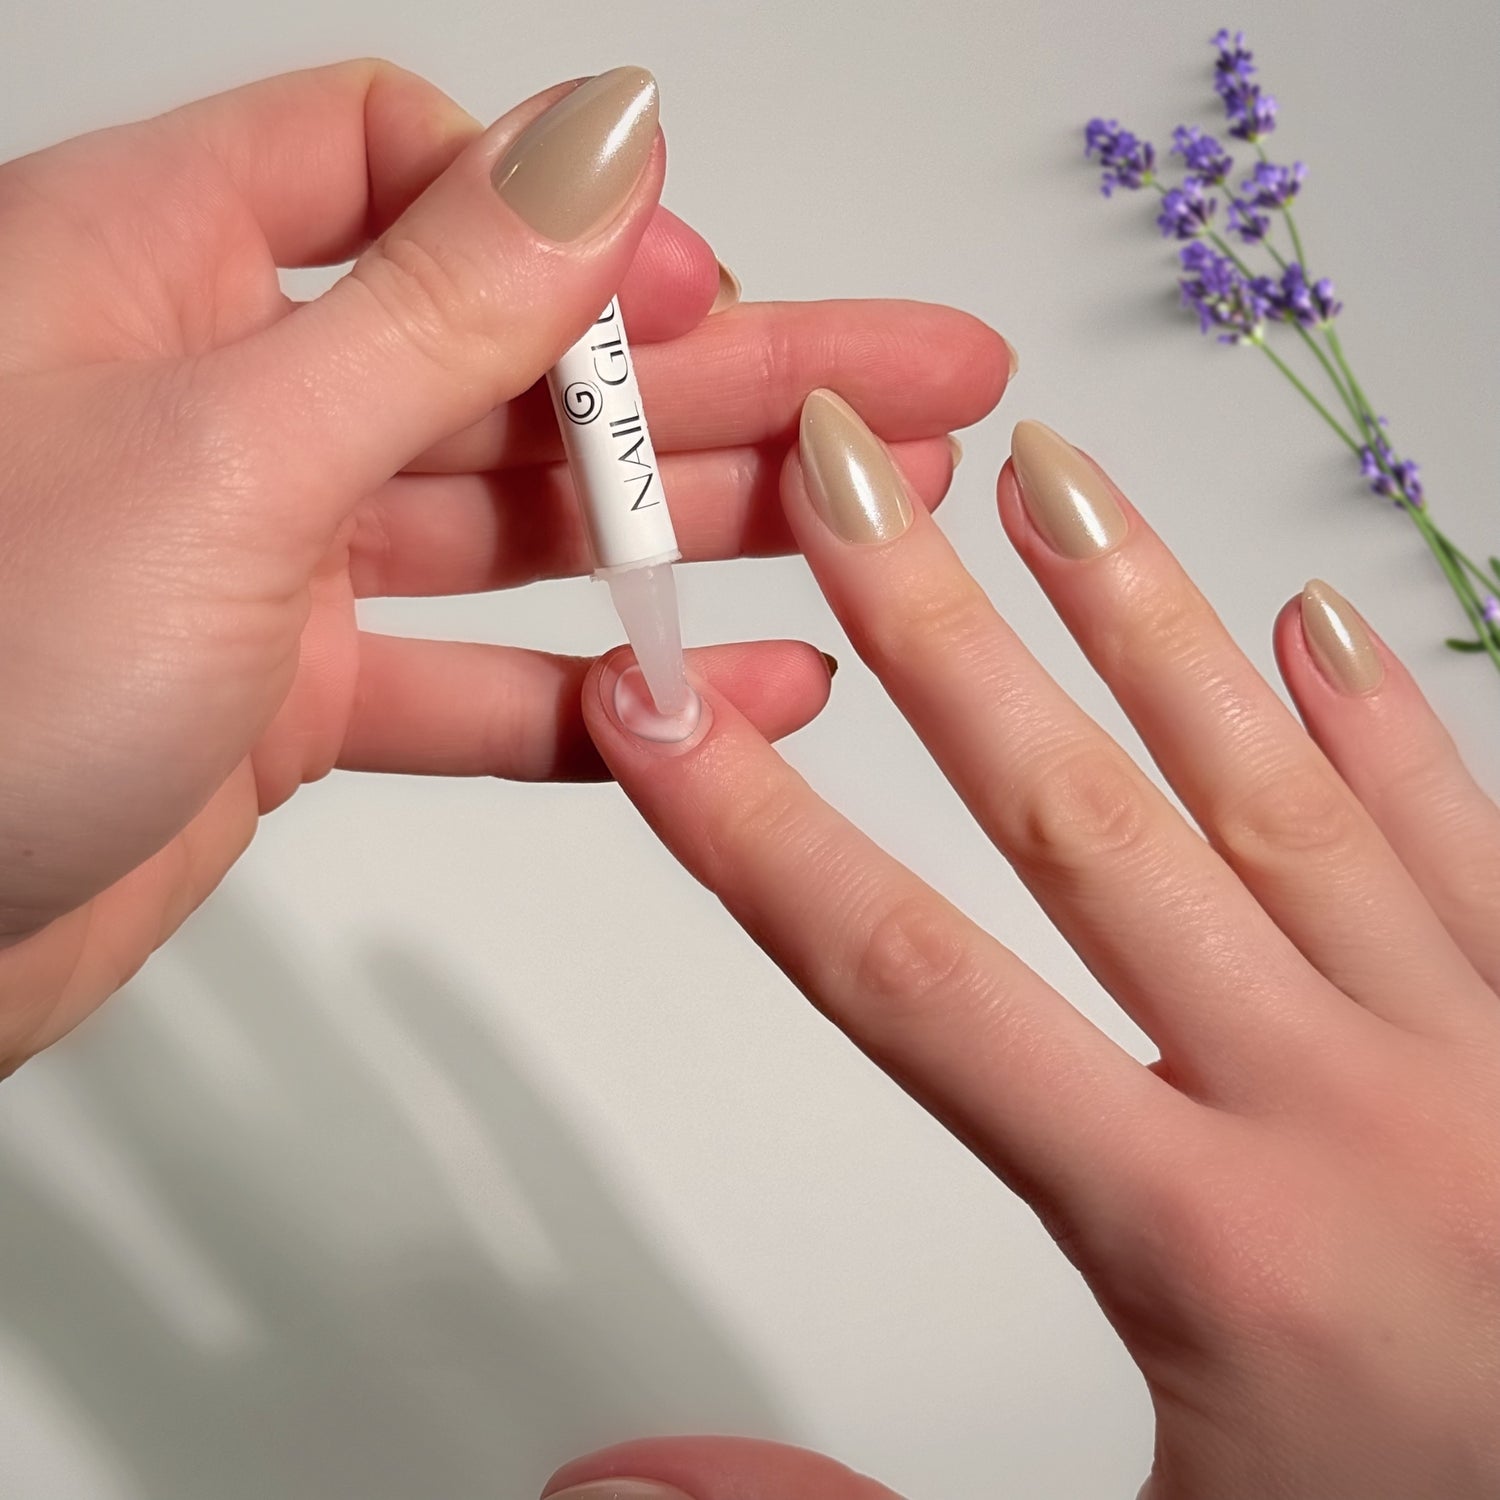
5. Apply an even layer of Nail Glue to a natural nail, avoiding the cuticle and surrounding skin
6. Optionally: apply a thin layer of Nail Glue to the press-on nail. Ensure the total amount of the Glue is not dripping or running.
7. Place the Gleo nail tip slightly under the cuticle, press down firmly, equally distributing the pressure to prevent air bubbles.
8. Hold for at least 30 seconds (90 seconds for best results).
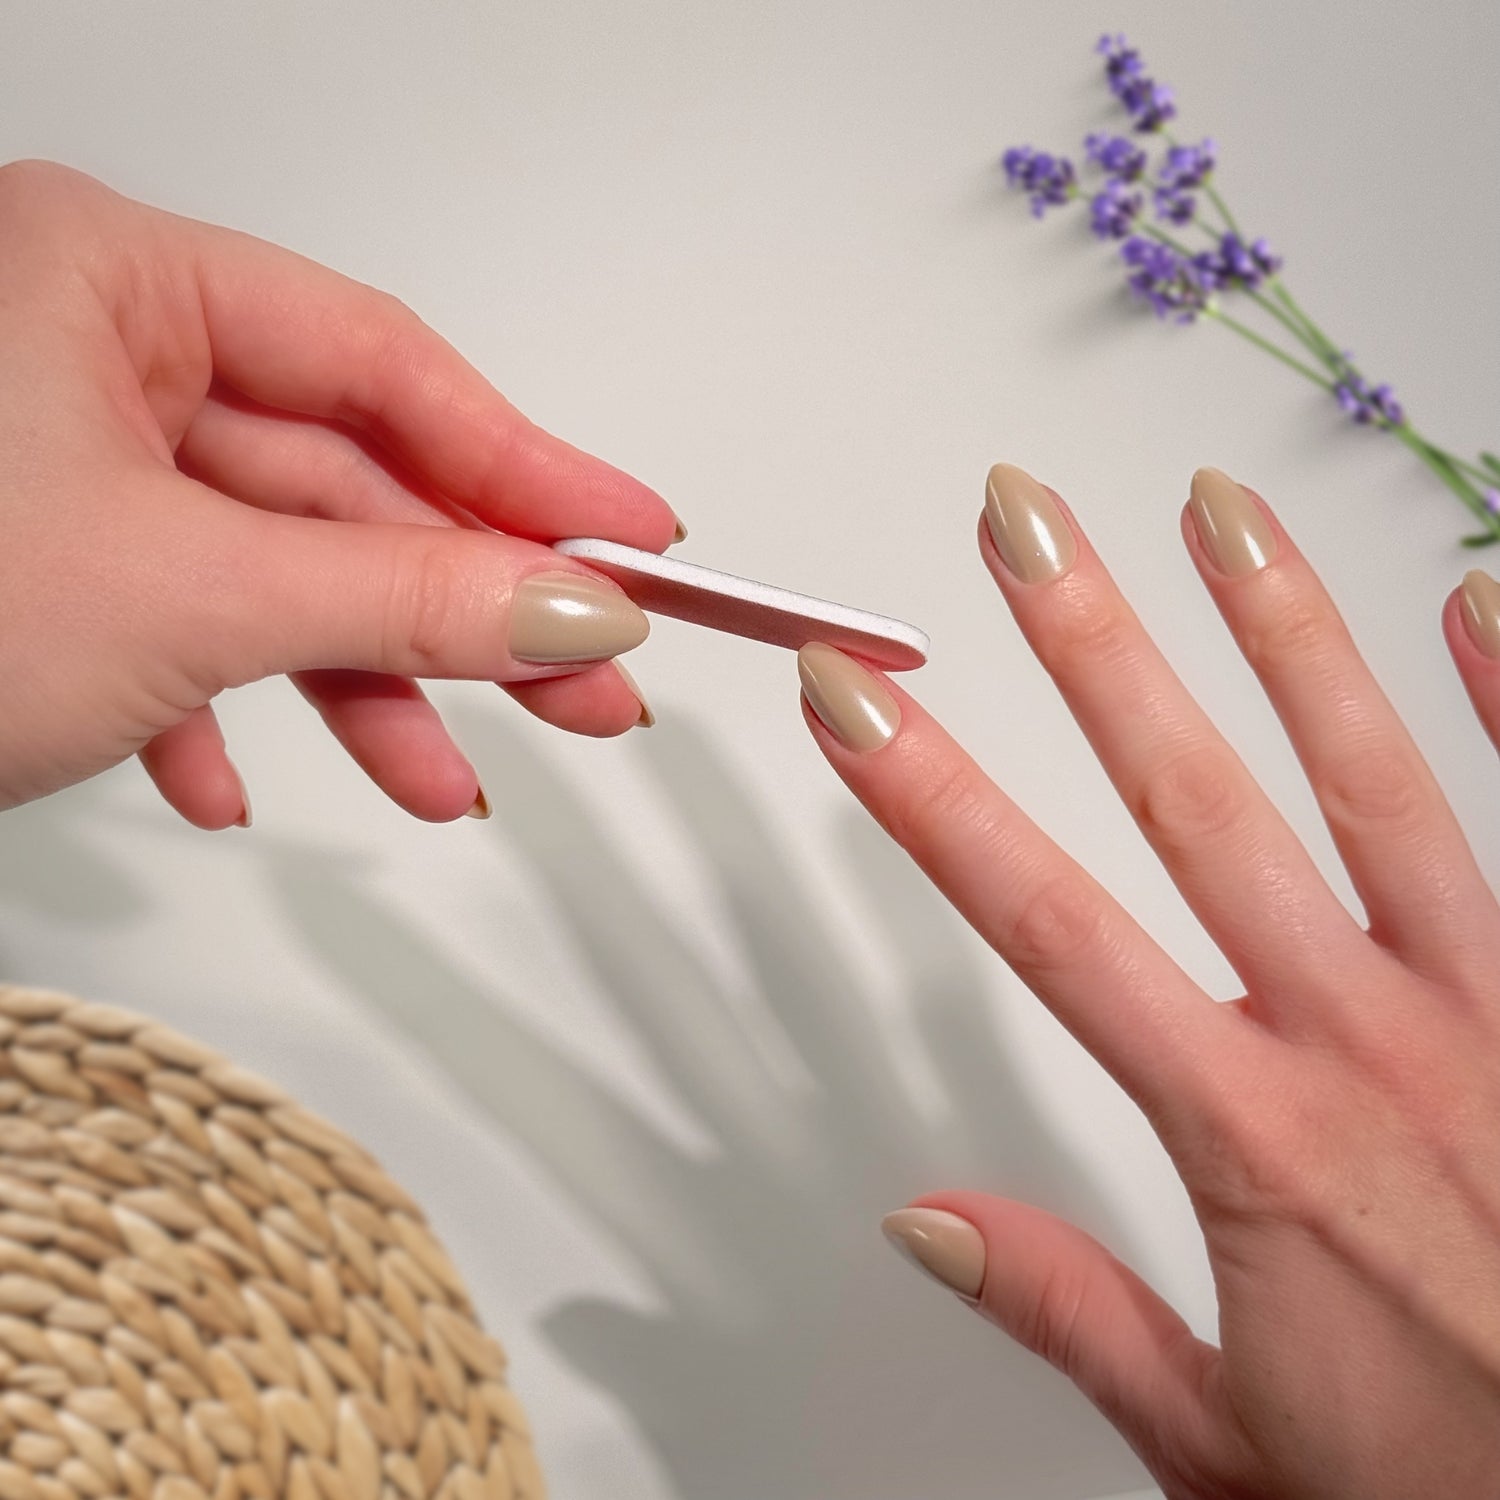
9. Remove any excess glue with a dry paper towel, alcohol wipe, or use a buffer file.

10. Follow steps 5-9 for each nail.
11. Smooth any rough edges with the file as needed.
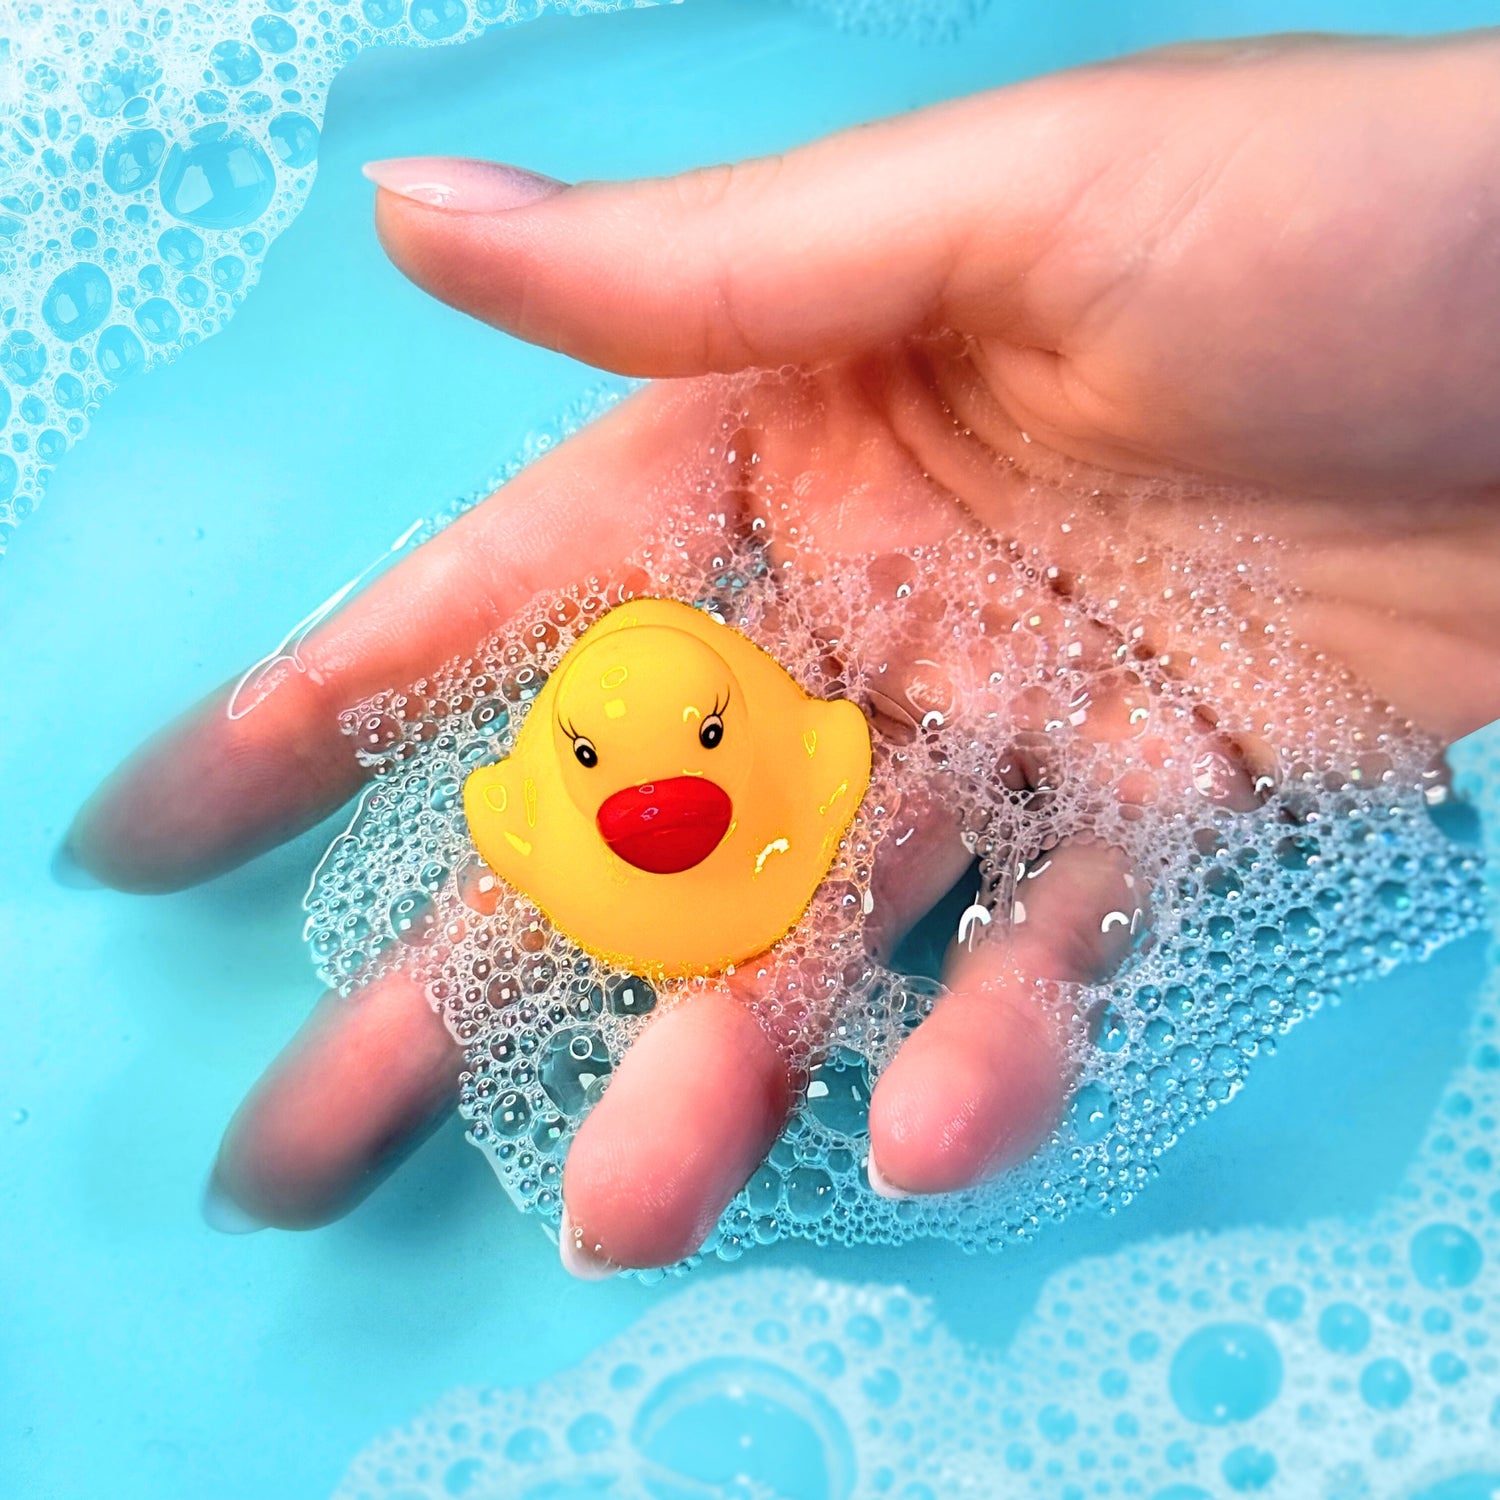
12. Try to avoid contact with water for at least 30 min after application. Or as long as 2 hours, for even better adhesion.
HOW TO REMOVE:

1. Use acetone or alcohol to loosen the glue adhesive. You can also soak hands in warm, soapy water.
2. Gently tilt out the gap between the nail bed and the press-on tip using a wooden stick.
3. If it doesn't pop off, continue soaking.
PLEASE, NEVER USE FORCE TO REMOVE PRESS-ON NAILS!
